twill label in your Linear workspace and appears as an assignable teammate.
Delegate an issue
Two ways, both equivalent:- Add the
twilllabel to an issue - Assign the issue to Twill
Plans and routing
To require a plan or select a model, add a label matching one of your routing config triggers — for example aplan or ultra label. On Linear, routing fires on labels (not /text triggers).
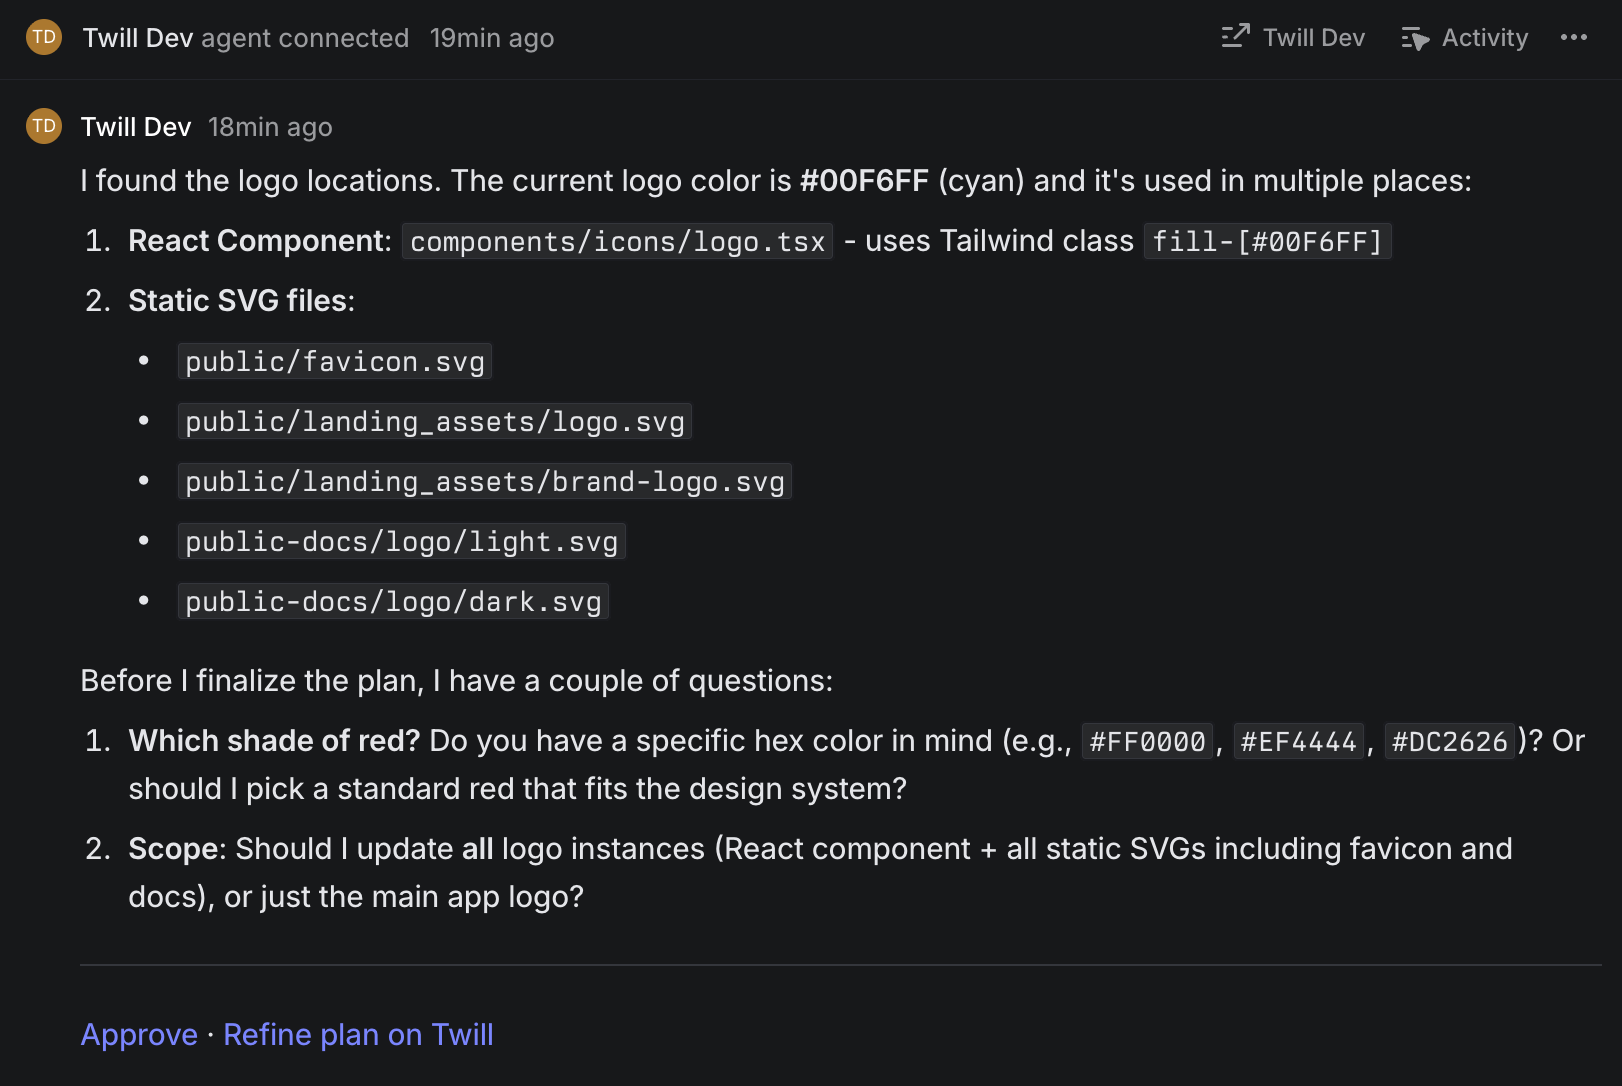
Plans post to the thread with an Approve link. To stop a run, say so in the thread.